Showing posts with label bread. Show all posts

Sunday, January 20, 2013

Wyatt and his best bud's #1 dinner request- Cheeseburger Soup


My son's name is Wyatt or Wild Man or "Hey! I was going to make that for dinner so get OUT of it!"

He is a growing 5th grader.
He eats.
He eats all the time.
He is a BIG eater.
He isn't a BIG kid though- about the middle of his class- pretty average size wise.

I'm scared for our budget 5 years from now!

He's always been a big eater. When he was a toddler, people used to buy him breakfast just so they could watch him eat the whole thing- a tall stack, 2 eggs, 2 sausage patties, 2 bacon strips, a side of hashbrowns, and an OJ.
You know who you are.

Anyway, this is the meal that Wyatt and his best bud always request when they are hanging out at our house for dinner. Cheeseburger soup with hot bread and butter.

This recipe will serve about 6-8  real people dinner, depending on appetites and bread consumption. I say real people because these are full bowls of soup, not a 3/4 or 1 cup serving size.

The cast of characters: ground beef, onion, carrots, celery, hashbrowns, butter, flour, beef broth, milk, shredded cheddar cheese, sour cream, salt & pepper.

If you want to, prep your veggies first. If you're like me, that level of preparation hasn't occurred, so I'll walk you through the lazy sequence.

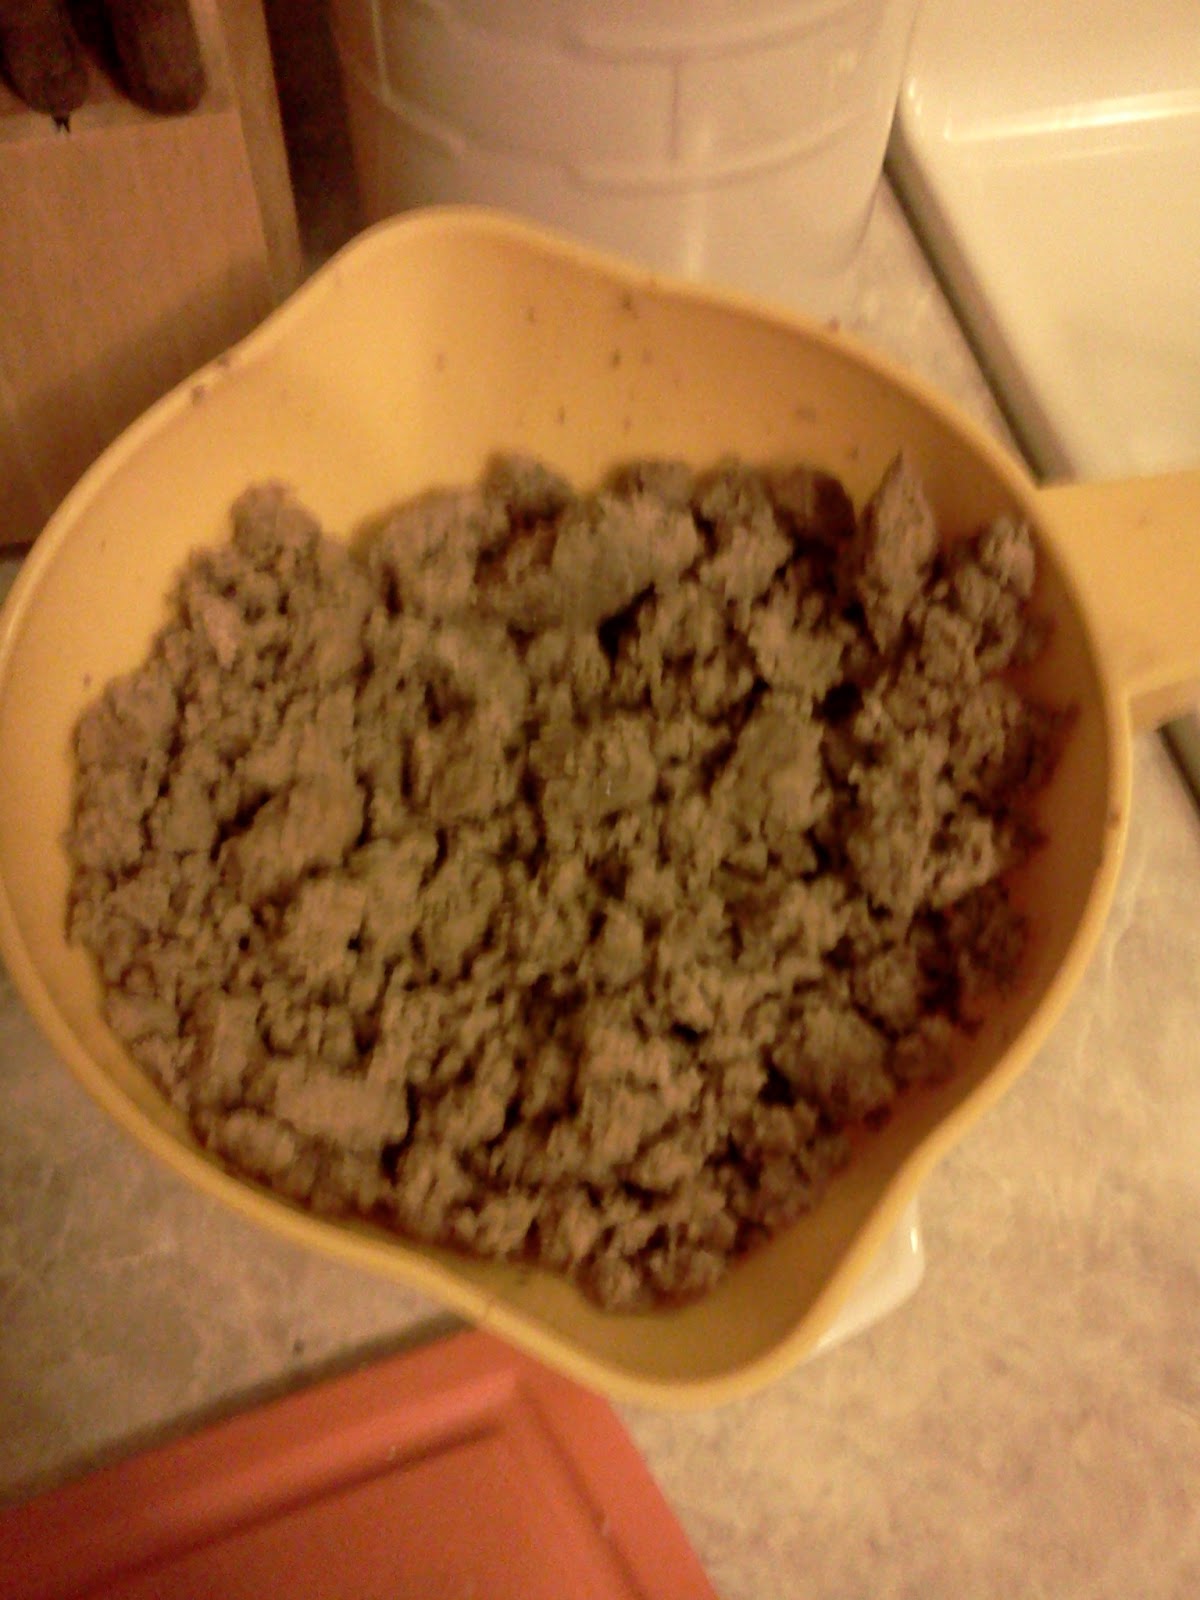
I start of by browning 1 pound of ground beef in a stock pot. I could tell you that browning your meat in the same pot as you will cook your soup allows the juices to linger and merge well. It does. Really. Or I could remind you about the LAZY. I only want to wash one pot.

While your beef is browning, get your carrots ready. I julienne mine. They are a consistent size and shape with the hashbrowns. I'm weird like that. This compulsion weirdness negates the lazy factor. (Don't ask me about my M & M or Lucky Charm eating issues.) If you don't suffer from the same compul- err- weirdness, feel free to just shred 2 or 3 good sized carrots. You will also need to chop half an onion and 2 or 3 stalks of celery.

Your hamburger should be nice and browned by now. Drain it or set the hamburger aside, but reserve any of the grease in the bottom of your pot. You need about 4 tablespoons. If your hamburger is very lean (ours is) supplement with butter to get your 4 tablespoons. Be sure your heat is on medium low to medium, and then sauté your carrots, onion, and celery for about 5 minutes. If you julienned your carrots, throw them in first for a minute or two because they take a bit longer to cook, and then add the onion and celery.

Prep your beef broth now. I rarely have homemade beef stock or broth on hand. I use a powder beef stock that you add to water. I measure my water into a large mason jar. Truly the picture is deceiving, this is one of the big ones, not a quart size job. I don't actually own a large liquid measuring cup. I just measure in my mason jars with the tic marks up the sides. I digress though. You need 4 cups of beef broth. Feel free to use can or box if you want to.


Your veggies should be nice and fairly softened up by now. Sprinkle 1/4 cup of flour across the top of them and give it a good stir to make sure it stick. Then add in your beef broth, ground beef, and  4 cups of hashbrowns. Just eyeball the hashbrowns. I throw them in frozen. Raise the heat to medium high or high and bring just to a boil, then lower the heat to a medium. Cover and simmer until your carrots and hashbrowns are tender- about 15-20 minutes- stirring occasionally.

When the hashbrowns and carrots are tender, add 1 1/2 cups of milk and  2 cups of shredded cheddar cheese. Salt and pepper to taste then stir and simmer until all the cheese is melted.

Once the cheese is all melted, lower your heat to low and add 1/4 cup of sour cream. Stir until fully blended.

Your soup is ready! Serve with hot, crusty bread and soft lightly salted butter for a hearty winter fare.


$$Budget saving tip!$$

Exhibit A
If I don't make my bread and rolls myself, then I ALWAYS buy them from the bakery discount rack at the grocery store. You get bakery items at an instant 30-50% savings. They are not "bad" they just need to sell quickly. Go ahead and buy whatever looks good. If you will be eating the item within a day or two, just store as normal. If you will be eating the item within a month, pop in the freezer in the store wrapper. If you won't be using the item for up to 3 months, remove from the store wrapper and re-seal in plastic wrap or zipper bags. I have stored many, many different breads and pastries this way!


Cheeseburger Soup
1 pound ground beef
1/2 chopped onion
2 or 3 stalks chopped celery
2 or 3 carrots, julienned or shredded
up to 4 T butter
1/4 c all purpose flour
4 c beef broth
4 c hashbrowns
1 1/2 c milk
2 c shredded cheddar cheese
1/4 c sour cream
salt & pepper

1. Brown your ground beef. Drain and reserve your drippings.
2. Add beef drippings and butter to achieve a total of 4 tablespoons.  Sauté your carrots, onion, and celery in the drippings for approximately 5 minutes.
3. Sprinkle flour across the top of your vegetables and gently stir to fully coat.
4. Add beef broth, ground beef, and hashbrowns. Stir and bring to a boil. Place a lid on the pot and lower heat to a simmer.
5. Simmer for 15-20 minutes stirring occasionally until the hasbrowns and carrots are tender.
6. Once tender, stir in milk and cheese. Salt and pepper to taste. Continue to gently stir until all of the cheese is melted.
7. Lower the heat to low and stir in the sour cream until fully incorporated. Serve.

Sunday, January 13, 2013

Is that delivery? No its from your own kitchen!

Good afternoon! Its Sunday, which means that I am trying to get my baking and meal prep finished for the week. I meal plan and shop in two week increments, and this is my "easy" weekend- meaning that I don't need to shop or plan. I just prep everything for the coming week.


My yeast jar. Just because I like it.


On with the important part....

The promised easy (and freezer friendly!) pizza dough recipe.

I have to be honest with you. I have only frozen this dough a dozen or so times, just to be sure that it will work. Why? Because its so easy to make that I just make it fresh on pizza night. It DOES freeze well though, so I'll include those directions too.

As I mentioned in my previous post, I have a mixer. I DO use my mixer on this recipe. I use the paddle, not the dough hook.

Wait, what? I don't know why, I just do. Its a quirk of mine.

You could probably use your dough hook, I just never have. If you don't have a mixer, you can do it by hand. And by hand, I mean you'll need to use your hands. A spoon isn't going to get the whole job done.

My recipe, as written, will make one medium or large pizza. You can double this recipe easily.  I would suggest that if you don't own an industrial bakery mixer, you don't go more than double. Your mixer bowl will be too full and the motor is going to be stressed.


To feed my family of 5, I make two pizzas. But to be honest, I almost always mix the dough in separate batches. It is just easier to work with that way. I mix one batch, dump it out on the counter, and then prep the yeast for the next batch. I then knead my dough, roll it out, and plop it on the pan. I add the rest of the dough ingredients into the yeast mixture and set to mix. I then sauce up the panned dough. By that time, the dough in the mixer is ready to be worked on the counter. It works out efficiently once you have a routine.

Another thing- I own round pizza pans. I never use them. Two large round pizzas won't fit in my oven at the same time. I use large rectangle baking sheets. Two large rectangles will just fit in my oven next to each other.

On to the pizza! I'll go step by step here, and then include a printable version of the recipe at the end. You will need: flour, dry yeast, vegetable oil of your choice, salt, sugar, and water.

Preheat your oven to 350*F

Measure out one cup of warm, not hot, water into your bowl. I have a metal bowl, so I feel my bowl temp before getting my water. If my bowl feels cold on my inner wrist, then I go with warmer, almost hot, water. I do that because I know that dumping a single cup of warm water into a cold metal bowl is going to rapidly drop the water's temp. If you want to be sure about it, you can measure your water's temp in the bowl. It should be between 105 and 115*F.

Add your sugar to the warm water and gently stir to be sure it dissolves. Follow this up with your yeast, and very gently stir one time. Allow your yeast to sit in the warm sugar water for a few minutes to activate. It will start to have bubbles or a foam like appearance across the top of the water.

When the bubbles have appeared, add in your oil and salt. Gently mix. Leave the mixer on a lower setting and begin to add in your flour 1/3 of a cup at a time. Allow your dough to form as you add each scoop of flour.

By the time you have added in all of your flour, you should have a solid dough mass that has pulled completely off the sides of the bowl and is not too sticky. If it is still sticky add in a bit more flour a tablespoon at a time.

Dump your dough out onto a lightly floured surface and knead 6-8 times until smooth. Form into the shape of a proof ready dough disc/ball- this looks like the cap of a mushroom. Allow to rest for about 5 minutes. (This is where you would stop for freezer method number 1.)

Once rested, roll or hand- toss your dough into your pan's shape. I generally roll it out to start and then hand stretch the dough to get the correct dimensions before placing on my lightly greased baking sheet. Be sure that you have not trapped any air bubbles under your dough if you are using a non- perforated pan. If you have an air bubble, either poke it gently with a fork tine or push to the closest side of the pan to release it. You most likely won't have trouble with this, but sometimes my daughter does. I think its because she tries to stretch the dough directly in the pan. (This is where you need to be at for the "frozen pizza" method.)


Sauce your dough to about a half an inch from the edges, and top your pizza.


Bake for 20-25 minutes. Your crust will be golden brown on the edges and will have risen slightly.

Allow to rest a couple of minutes before slicing. This will allow your toppings time to cool slightly and help keep them from skidding around in the sauce while you try to cut. Enjoy your homemade pizza!


Freezer Method Numeral Uno:
This is the tastiest and most space saving freezer method, however, it still requires planning ahead to serve pizza to your family. This is not the "frozen pizza" method.

You should be at the dough resting stage for this method. Once your dough has rested, gently press into a flat disc about 1 1/2 inches thick. If you are planning to freeze more than one dough disc, place a layer of wax or parchment paper between each disc and then stack. Gently wrap in plastic wrap and place in the freezer for up to 3 months.

Ready to enjoy some pizza? Remove a dough disc from the freezer, place on a lightly greased plate and allow to thaw. You can place your disc in the fridge at bedtime to thaw. About 2 hours before you plan to bake your pizza, pull your dough from the fridge and allow it to rise to room temperature. Once at room temperature, shape your dough to your pan, top, and bake at 350*F for 20-25 minutes.


"Frozen Pizza" Freezer Method:
This method is like buying a frozen pizza from the store. It takes up more space in your freezer, and you lose some of the fresh taste. Let's face it though, its frozen, not fresh. It can save some time if you are very busy or if you need someone who doesn't like to cook to make a meal.

The frozen pizza is just like it sounds. Make your dough, roll out and place on a baking sheet lined with parchment. You'll want the parchment to be able to gently remove your crust. Bake the un- sauced and un- topped crust in a 350*F oven for 12 minutes. Essentially you are half baking the crust. Remove from the oven. Using the edges of the parchment, gently remove the crust from the pan and place on a cooling rack.

Allow the crust to cool, and then sauce your pizza with chilled sauce. You will want to go slightly lighter on the sauce than you would if you were baking it immediately. The water in the sauce will play a role in condensation in freezing. You will want to chill your toppings slightly before placing on the pizza, or at the least, use room temperature. It does not freeze well if you use warm from the pan ground beef or sausage. It causes a condensation issue- soggy pizza anyone? Place your pizza, unwrapped, in the freezer for about 1 hour. Once it is thoroughly chilled and all toppings appear to be "set", wrap your pizza in plastic wrap. In theory this should last in a good deep freeze for up to 3 months, but I haven't ever gone more than a month or so.

When you are ready to bake your pizza, preheat your oven to 350*F. Remove the plastic wrap from the frozen pizza and reseat it into your pizza pan. Bake the frozen pizza for 20-30 minutes, until the crust is slightly raised, golden brown, and the cheese is completely melted. The first few times you  make it, you will need to start checking it after 20 minutes to determine the appropriate baking length for your freezer and oven situation- some freezers run colder, some ovens run hotter.


I hope that this recipe helps some of you out. Enjoy your pizza!


Easy Hand-tossed Pizza Crust
Yields 1 medium or large pizza crust

1 cup warm water (105-115*F)
1 Tbs sugar
.25 ounces OR 2 1/2 tsp dry yeast
2 Tbs vegetable oil
1 tsp salt
3 cups all- purpose or bread flour

1. Preheat oven to 350*F
2. Add warm water and sugar to your mixer bowl. Gently add yeast and allow to rest.
3. When yeast is bubbly/foamy, add oil and salt. Gently mix.
4. Set your mixer to a low setting with the paddle or dough hook and begin to add the flour in 1/3 cup at a time. Allow it to incorporate before adding more. Bump up the mixer speed a bit if you need to as the dough forms.
5. Once all flour is added and incorporated into the dough, dump out onto a lightly floured surface and knead smooth. Form a dough ball and allow to rest 5 minutes.
6. Roll out or hand- toss dough to fit your pizza lightly greased or lined pizza pan.
7. Spread on sauce and top with meats, veggies, and cheese.
8. Bake for 20-25 minutes, until edges of crust are golden brown and cheese is melted and bubbly.
9. Remove from oven and allow to cool for 5 minutes before slicing.
10. Enjoy!


Saturday, January 12, 2013

Biscuits, baby! Yes, I said biscuits.


Because several people have asked me for the recipe. Because I'm too lazy too look up everyone's email addresses. And most importantly, because I have a dream to become a famous blogger- can't you tell by the fact that I have two previous posts and they both occurred in 2011?

I am going to add a post with my super easy biscuit recipe. It can be frozen ahead of time, and it tastes remarkably like a certain company's frozen biscuits that have a cute little blob of giggling dough advertising them.

Easy? Check! Freezer friendly? Check! Tastes delicious? Check!

I actually revived this recipe a couple of years ago from an old "Victory" cookbook. I got it at Goodwill for half off. It is missing its cover, probably several pages, is currently held together by some 1960's style O-rings, and has questionable "spots" sprinkled through out it. The spots may or may not be from my kitchen.

The business advertisements go something like this:

WILLIAMS HARDWARE
H. A. Webb, Mgr.
Rantoul's Most Complete Hardware
and Gift Department
Phone 24

You read that right, the phone number is 24. As some of you know, I have a bachelor's degree in history. (I know, you don't have to say anything.) However, this is one time that this valued portion of my education comes in handy. I can give a professional opinion on the age of this cookbook.... its been around a while.


On to the important part, with pictures coming soon! Here is the original recipe:


Biscuits
4 cups self rising flour
3/4 cup shortening
1 2/3 cups soured milk

Grease a large baking sheet. Place flour in a large bowl and cut in shortening until it resembles coarse crumbs. Slowly add in milk until you have a soft dough that is pulling off of the bowl. Dump out onto a lightly floured surface and gently work smooth. Pat out the dough to 3/4 inch thickness and cut into biscuit rounds. Place on the baking sheet and bake in a hot oven until golden.

I do have to give credit where credit is due, so thank you for the recipe: 

 Mrs. J. S. Barnes.

Don't click away yet! I have the modernized translation for you, along with some bonus instructions.


Modernized "Old Fashioned" Biscuits
4 cups self- rising flour
3/4 cup shortening
1 2/3 cups soured milk OR buttermilk (see notes below)

1. Preheat the oven to 450*
2. If your baking sheets aren't seasoned, grease it or use a liner.
3. Place flour in a large bowl and cut in shortening until it resembles coarse crumbs.
4. Slowly add in buttermilk, mixing as you go, until you have a soft but slightly sticky dough.
5. Dump out onto a lightly floured surface, and gently knead, adding a bit of flour if necessary, until the dough is fairly smooth.
6. Pat or roll until it is 3/4 to 1 inch thick and cut into biscuit rounds.
7. Place on a baking sheet so that they do not touch.
8. Bake for 9-12 minutes, until they are golden brown on the tops.
9. Serve as they are or brush with melted butter.


Ok, for those of you who are like me and don't keep self-rising flour in the house, here's the conversion for this recipe:
4 cups all purpose flour + 6 tsp baking powder + 2 tsp salt
Gently blend together in the bowl or sift for even consistency.

The original recipe calls for soured milk. I regularly use soured milk in recipes, and the conversion that I use for this one is not an exact science. I'll try to explain it though. I place 1 cup whole milk in a glass bowl. I then use a 2/3 cup measuring cup and then fill the 2/3 cup about 3/4's of the way full of whole milk and top it off with vinegar. Allow this to sit for about 5 minutes. I generally just measure this out first and then start on measuring out the other ingredients. By the time I finish measuring everything out, cut in the shortening, and get interrupted 777 times by the kids (that might be a slight exaggeration) the milk is soured and ready to add into the dough.

You can use skim milk, but the taste and texture is just not quite as good. Buttermilk is also very acceptable and tasty in this recipe, if its something that you keep around the house.

As you can see from the pic, I have a mixer. I LOVE my mixer!
I do NOT use my mixer to make biscuits!
I can make a triple batch by hand in not much longer than a single run. I could probably even make a bigger batch than that, except I don't own a bowl large enough to allow me to evenly work more. These biscuits are not arm muscle intensive in the least little bit.


Freezer Notes!
These biscuits freeze very well. If you want to freeze them, just skip the baking step. You can just place the cut out biscuit dough rounds on the baking sheet, pop them into the freezer for an hour or two, and then place the frozen biscuit rounds in a Ziploc bag to be baked on a busy morning.

When you are ready to bake the frozen biscuits:
1. Preheat the oven to 400*F
2. Place the required number of frozen biscuit rounds on a baking sheet.
3. Bake for 12-16 minutes.

Be sure to watch your from 12 minutes on the first couple of times you bake from frozen until you have a better idea of how long the biscuits will take at YOUR house. I have found that depending on which freezer I have stored these biscuits in (regular fridge freezer or full size deep freeze) changes the amount of time they need to thaw and bake properly.


Just something extra...
These biscuits don't grow a lot in diameter, as they mostly rise vertically. This means that you can cram quite a few biscuits onto a baking sheet without worrying about them "spreading" into each other. You can see what I mean in the pictures, although please ignore my hideously seasoned baking sheet. I meant to hide it with a sheet of parchment- oops!

The little "baby" biscuit is the leftover bit of dough when you finish cutting all of your biscuits. I always just throw it in too. Why waste it? My youngest is still of an age that she is thrilled to eat a "baby" biscuit.

I have also had a lot of success making cinnamon rolls with this dough, so if you are interested I can post the directions for that as well.

I will be adding my easy pizza dough recipe shortly. This pizza dough can be frozen ahead of time, but is so easy you may not want to even bother...